
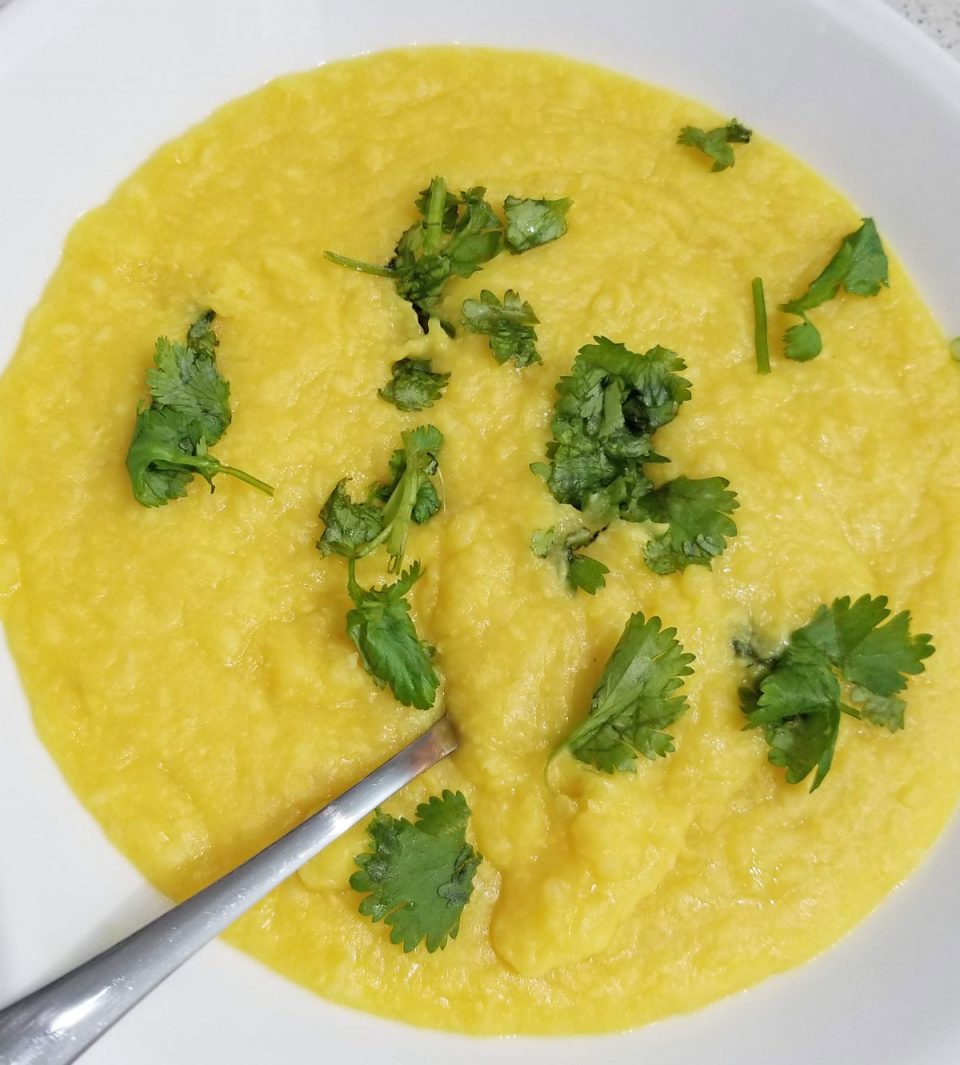
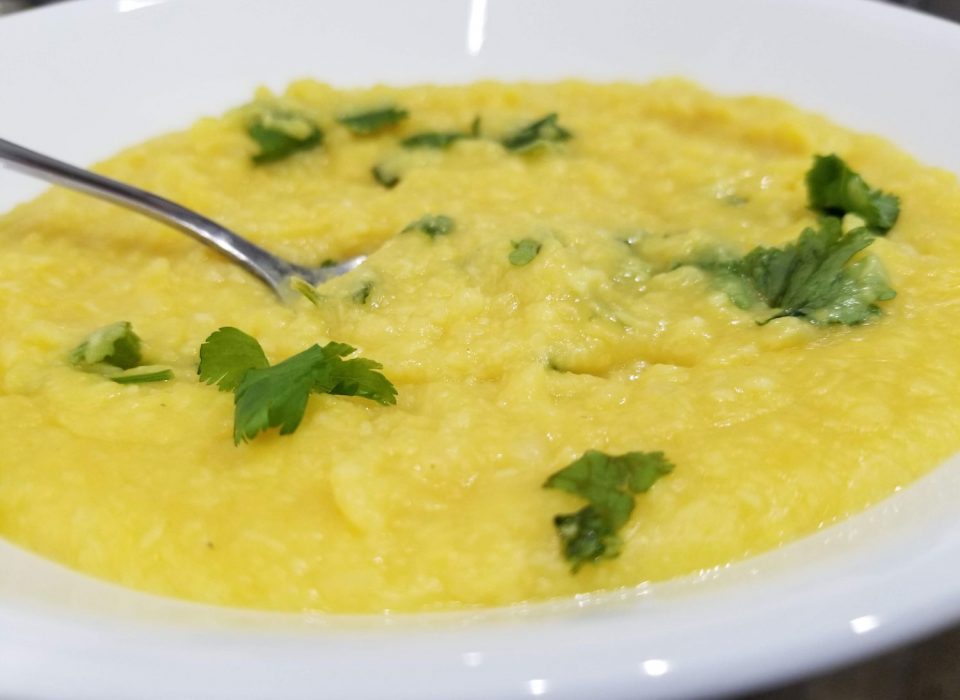
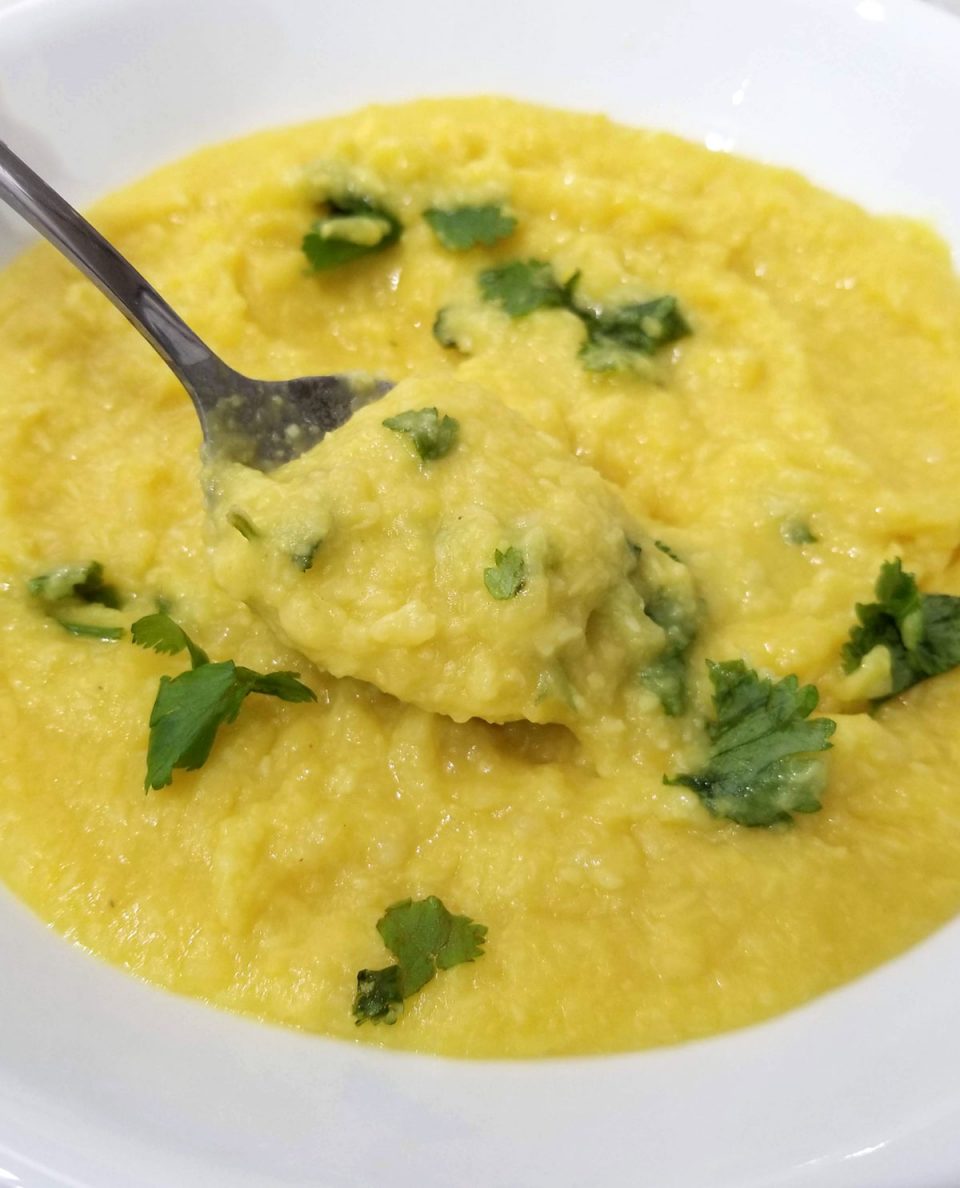
Coconut dal or coconut moong dal curry in the instant pot pressure cooker using yellow moong dal (skin removed mung beans) and coconut is very delicious, nutritious and easy to make.
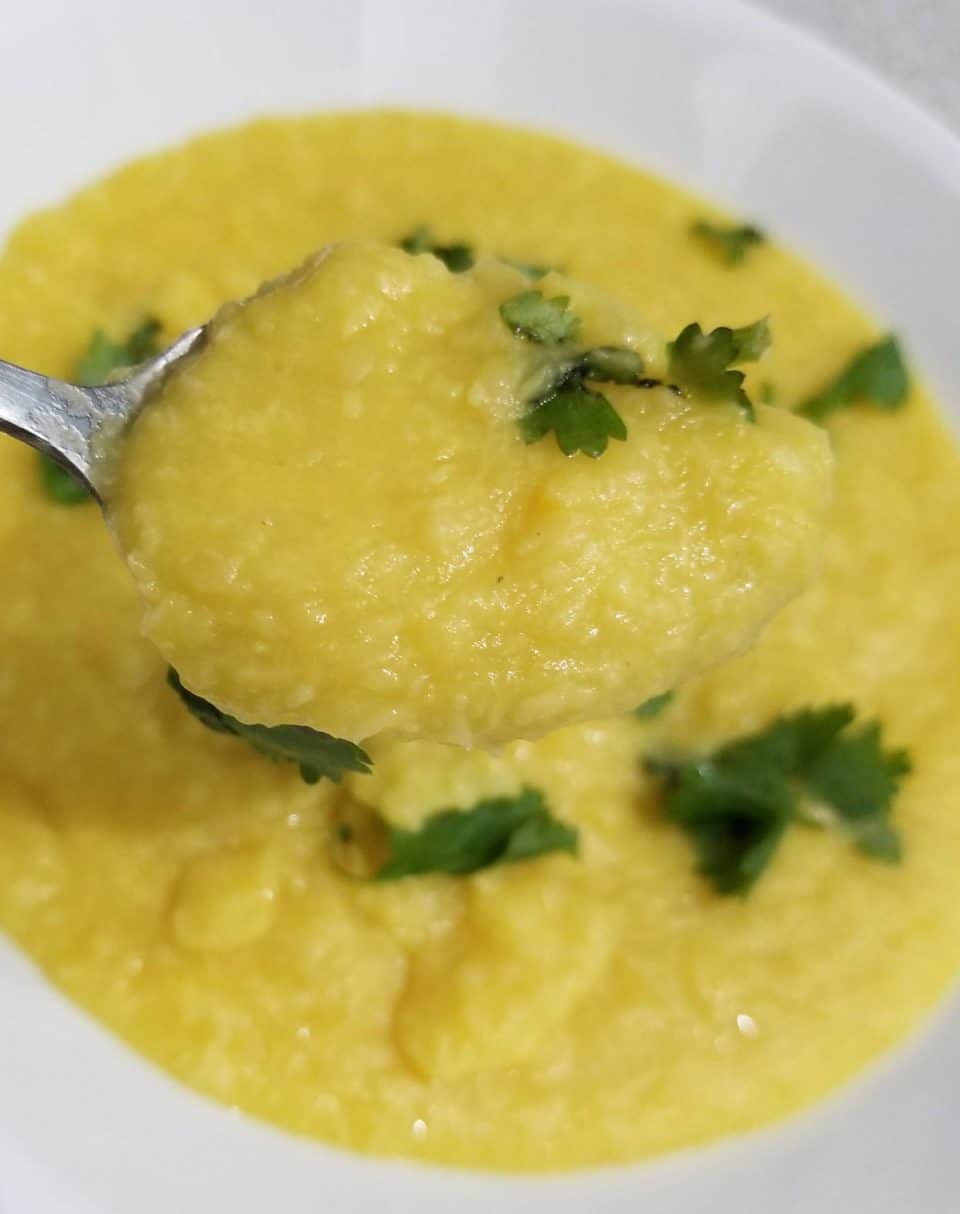
Turmeric powder is also one of the main ingredients in this dal curry, along with other spices like garlic. While coconut & dal makes this curry creamy and delicious, the curry is bright and colorful in yellow because of yellow moong dal and also the turmeric spice.
In fact, I use unsweeted shredded coconut or dessicated coconut to make the curry, so we can directly add the coconut to make the dish.
It is so delicious, and so easy to make in the instant pot pressure cooker! I have also this easy, delicious moong dal fry in instant pot using yellow moong dal (mung beans) which doesn't require coconut and it is super simple to make as well! Unlike coconut dal curry recipes that uses coconut milk in the preparation, we use grated coconut or shredded coconut or dessicated coconut (unsweetened) to make this coconut dal curry.
You can use freshly grated or dried shredded coconut or dessicated coconut flakes to make this delicious curry which goes great as a side dish with rice for lunch or dinner. I have also made this easy coconut rice in instant pot, using shredded coconut or dessicated coconut, which are very easy to make rice recipe in instant pot and it's delicious too if you love the coconut flavor!
how to make coconut dal curry in instant pot?
We use the following ingredients to make this easy and delicious coconut moong dal curry.
ingredients to make coconut dal curry
- yellow moong dal 1.5 cups
- grated or shredded coconut 1 cup (unsweetened)
- salt as needed
- garlic crushed or minced 2 to 3 cloves
- turmeric powder ½ teaspoon
- onion powder 1 teaspoon (optional)
- ghee or butter or oil 2 tablespoons
- cilantro chopped 1 tablespoon (for garnishing)
- water 4 cups (will need more later once the dal is cooked)
step by step instructions
- Add the yellow moong dal to the instant pot.
- Also add the coconut, salt, onion powder, turmeric and garlic.
- Add the water and mix well to combine. Also add the ghee (or oil or butter), mix in with the rest of the ingredients.
- Cover the instant pot with lid in sealing position and cook in high pressure for 6 minutes. Once the cooking is done, wait for a natural pressure release for at least 12 minutes. Then, you may carefully do a gradual manual pressure release.
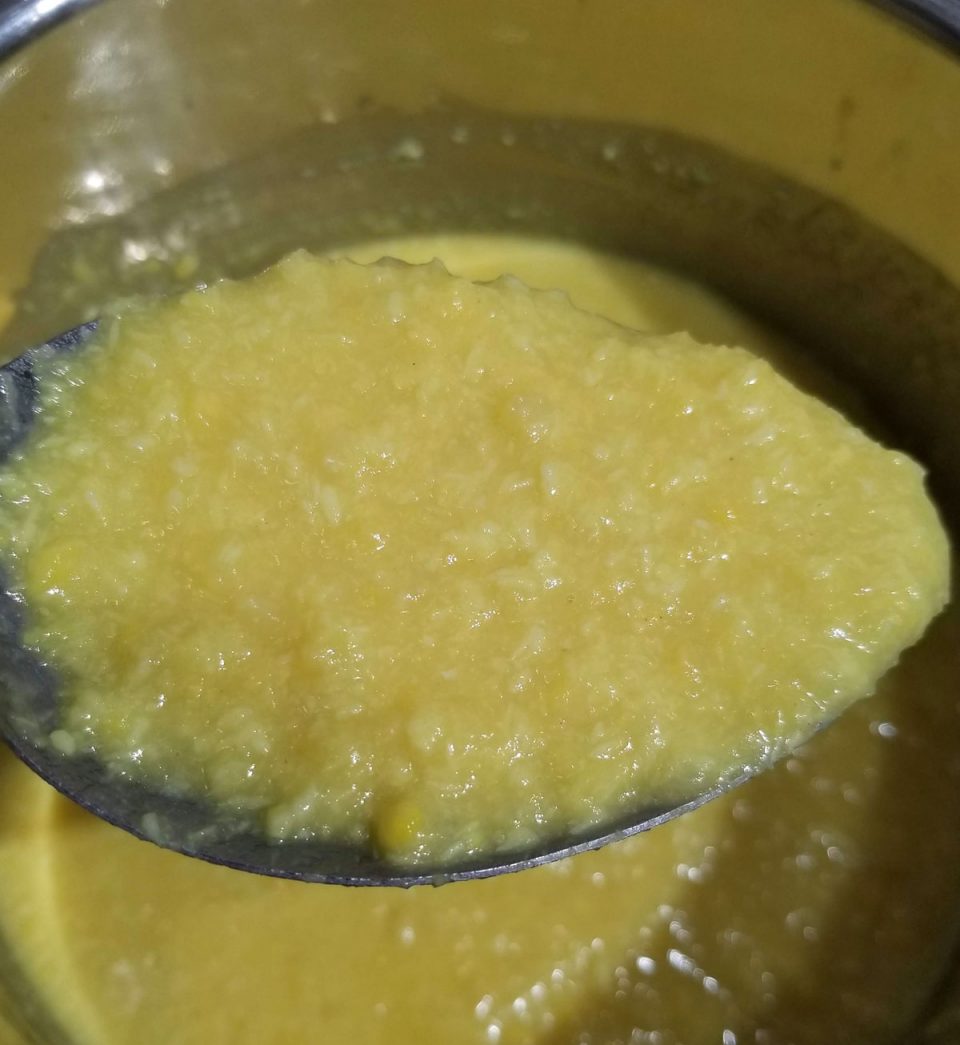
- Once the pressure is all released, carefully open the lid of the instant pot and stir the contents. The water will all be absorbed by the dal at this time, you can gently mash the dal using a large spoon or ladle.
- Add more water to the dal, as needed, stir well to combine with the dal. I usually use another 2 to 3 cups of water to mix with the cooked dal, which will give the right consistency for the dal. You may adjust the amount of water required to get your preferred consistency of coconut dal curry.
- Also, you may press the saute function and simmer for about a minute or so, if you wish.
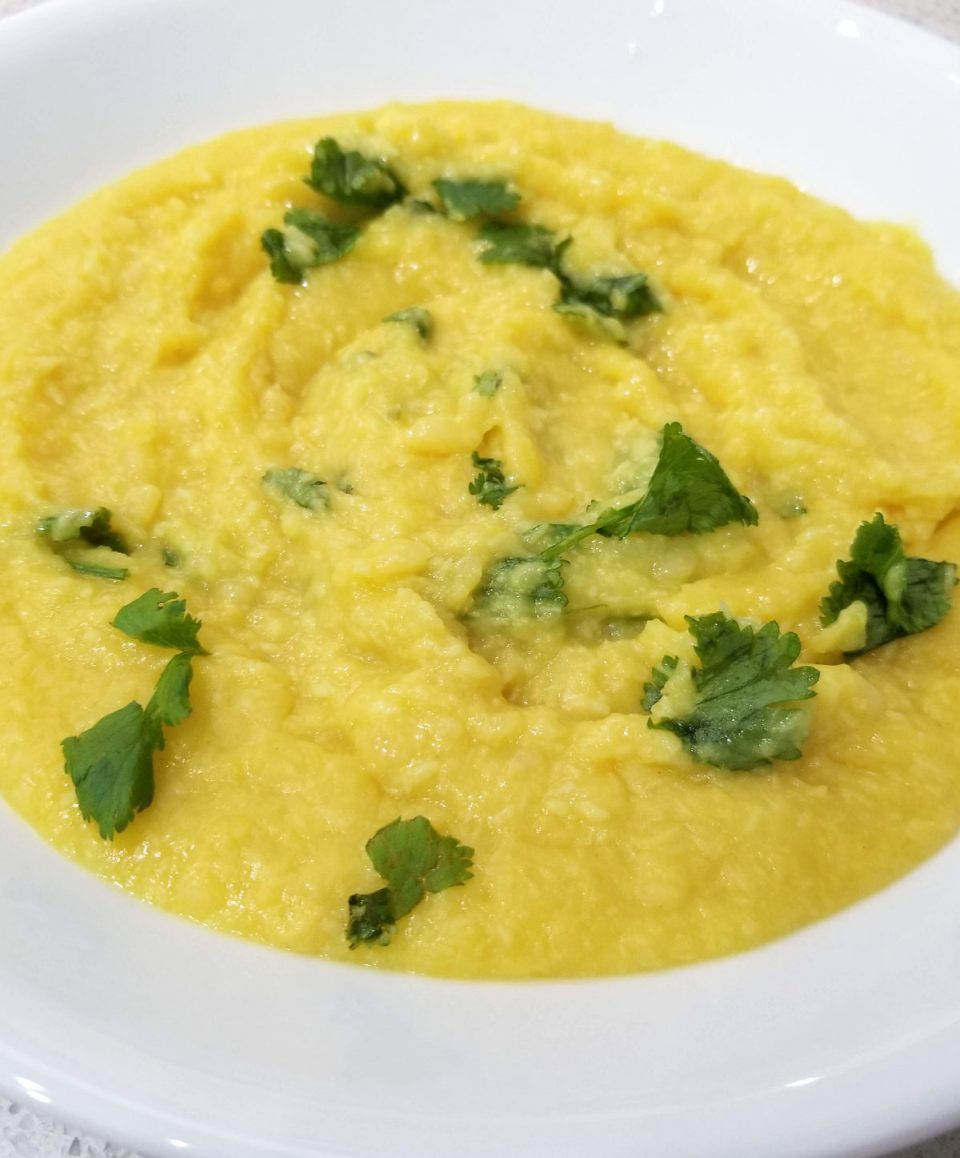
- Once cooked, you can garnish the dal with cilantro leaves (if using) and serve hot with rice. You may also use curry leaves instead of cilantro leaves if you wish.
Notes: You may also add an Indian style seasoning if you wish, to make the dal even more tasty. To make the seasoning, heat little oil (or ghee) in a small pan on stove top. You can actually skip adding ghee or oil to the dal if you are making the seasoning separately since we use the ghee or oil in making the seasoning. Once the oil is heated, add ½ teaspoon mustard seeds and let it splutter. Then add few curry leaves (make sure there is no water in the leaves) and also add 2 to 3 broken dried red chilies. Lightly fry all of these and add this prepared seasoning or tadka to the prepared dal and gently mix. The addition of the seasoning will make the dal more delicious.
You may also use about 1 tablespoon of chopped shallots or minced onions and lightly fry that too in the oil while making the seasoning which will add more flavors and make the dal the most delicious! If you are not using the coconut dal in a couple of hours, I recommend storing the dal in the refrigerator. The dal will keep fresh in the refrigerator for another couple of days if stored properly in air tight containers. As the dal cools down, the dal will thicken naturally. This is very normal, and you can add more water and mix in with the dal very well to achieve the right consistency for the dal.
Below you can get the recipe for instant pot coconut moong dal curry in detail.

Coconut Dal In Instant Pot
Ingredients
Method
- Add the yellow moong dal to the instant pot.
- Also add the coconut, salt, onion powder, turmeric and garlic.
- Add the water and mix well to combine. Also add the ghee (or oil or butter), mix in with the rest of the ingredients.
- Cover the instant pot with lid in sealing position and cook in high pressure for 6 minutes. Once the cooking is done, wait for a natural pressure release for at least 12 minutes. Then, you may carefully do a gradual manual pressure release.
- once the pressure is all released, carefully open the lid of the instant pot and stir the contents. The water will all be absorbed by the dal at this time, you can gently mash the dal using a large spoon or ladle.
- Add more water to the dal, as needed, stir well to combine with the dal. I usually use another 2 to 3 cups of water to mix with the cooked dal, which will give the right consistency for the dal. You may adjust the amount of water required to get your preferred consistency of coconut dal curry.
- Also, you may press the saute function and simmer for about a minute or so, if you wish.
- Once cooked, you can garnish the dal with cilantro leaves (if using) and serve hot with rice, chapathi etc. You may also use curry leaves instead of cilantro leaves if you wish.
Leave a Reply